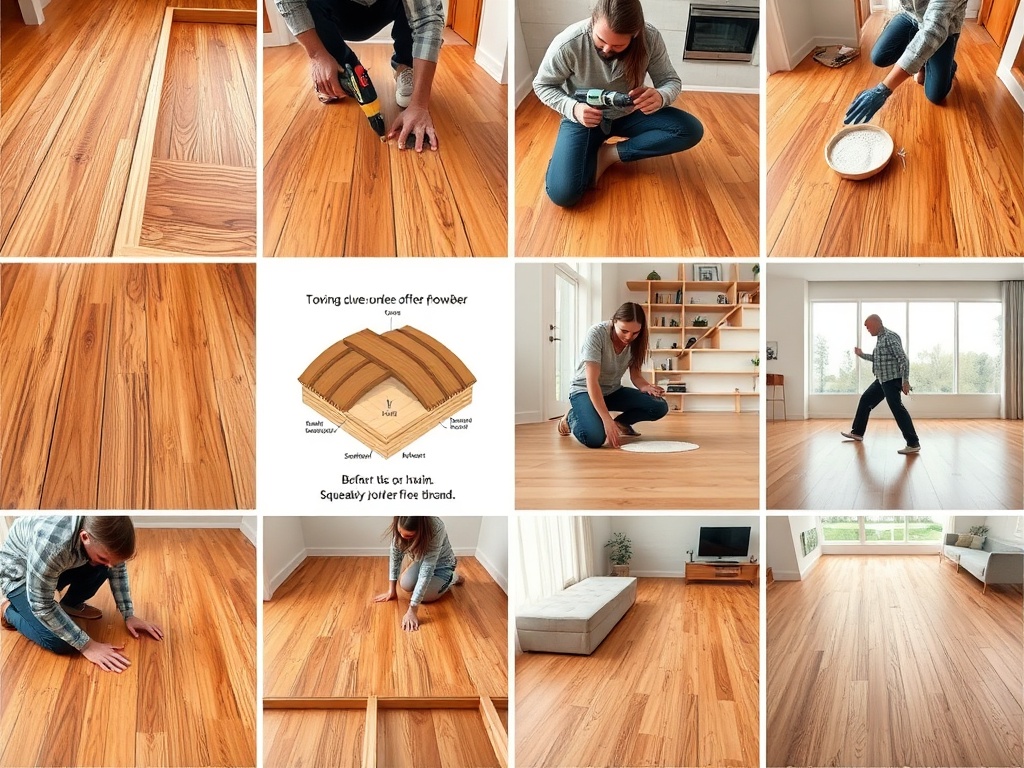
How to Fix Squeaky Floors?
Floors should provide comfort, stability, and durability. Yet, one of the most irritating problems homeowners face is the persistent creak or squeak that emerges every time someone takes a step. Squeaky floors can make even the most beautiful home feel old and poorly maintained. While the noise may not always signal structural issues, it often indicates gaps, friction, or loose connections in your flooring system.
This article, “How to Fix Squeaky Floors,” offers a comprehensive guide on fixing squeaky floors, covering everything from understanding the root causes to applying simple DIY remedies. We’ll also explore professional repair solutions, recommend essential tools, and discuss long-term prevention strategies. By the end, you’ll not only know how to eliminate those annoying squeaks but also how to keep your flooring quiet and sturdy for years to come.
Quick Guide to Fixing Squeaky Floors
| Category | Details | When to Use |
| Common Causes | Loose nails/screws, subfloor gaps, wood expansion, and joist friction | Early diagnosis of squeaks |
| DIY Methods | Lubricating gaps, tightening screws, inserting shims, using squeak kits | Minor to moderate squeaks are accessible from above/below |
| Professional Solutions | Re-screwing subfloors, joist reinforcement, and board replacement | Widespread or stubborn squeaks |
| Tools Needed | Drill/driver, hammer, wood screws, pry bar, squeak repair kits | For both quick fixes and structured repairs |
| Materials | Construction adhesive, powdered graphite, talcum powder, wood shims | When filling gaps or reducing friction |
| Prevention Tips | Maintain humidity, use screws instead of nails, inspect floors annually, and ensure a quality installation. | For long-term silence and durability |
| Cost Range | DIY: $5–$50; Professional: $200–$1,000+ | Depends on severity and whether professional help is needed |
Why Do Floors Squeak?
Before jumping into repairs, it’s essential to understand the causes of squeaks. Most squeaks result from friction between flooring components, such as:
- Subfloor and joists – Nails or screws may loosen over time, allowing wood to rub against metal fasteners or against the joists themselves.
- Subfloor and finished flooring – Hardwood planks or subflooring that shift slightly under load can create noise.
- Changes in humidity and temperature – Wood naturally expands and contracts, which can worsen squeaks if the flooring was not correctly installed.
- Wear and age – Older homes often suffer from squeaks because nails work loose, adhesives weaken, and joists settle.
Understanding the cause will help determine whether a DIY fix will suffice or whether professional intervention is necessary.

Identifying the Source of the Squeak
Locating the exact source of the squeak is the first step toward resolving the issue. The simplest way is to have one person walk across the floor while another listens from below, if accessible. If the underside is not accessible, mark noisy spots with tape as you walk across the room.
Often, squeaks are concentrated along joist lines or high-traffic areas. Accurate detection ensures you don’t waste time applying fixes to the wrong location.
DIY Methods to Fix Squeaky Floors
If the squeak is minor and you have basic tools, several DIY remedies can restore silence to your floors.
1. Tightening Loose Flooring
Loose nails are one of the biggest culprits. Replacing nails with properly sized wood screws driven into the joist provides a stronger hold and reduces movement.
2. Lubricating the Floor Gaps
Powdered graphite, talcum powder, or even specialized floor lubricants can reduce friction between floorboards. Sprinkle the lubricant over the squeaky area, sweep it into the cracks, and wipe off excess.
3. Shims for Subfloor Gaps
For squeaks caused by gaps between joists and subfloors, tapping in a small wood shim with construction adhesive can fill the void and eliminate movement.
4. Using Squeak-Relief Kits
Home improvement stores sell kits designed to secure floors through carpet or hardwood without removing the surface covering. These kits often include breakaway screws that can be hidden after installation.
5. Applying Adhesive
For persistent gaps, applying construction adhesive along joists from underneath the floor can create a strong bond, reducing friction.

Professional Solutions
Some squeaks are too stubborn for quick fixes, especially in older homes with extensive flooring issues. Professionals may use:
- Re-screwing subfloors across large areas to ensure maximum stability.
- Joist reinforcement, adding blocking or sister joists for extra support.
- Floorboard replacement in cases of warped or cracked planks.
- Carpet removal and reinstallation when squeaks come from beneath.
While hiring a professional costs more, it guarantees a lasting solution and prevents damage from improper DIY attempts.

Tools and Materials You May Need
Repairing squeaky floors doesn’t require overly complex equipment, but having the right tools ensures efficiency and safety.
| Category | Examples |
| Fasteners | Wood screws, breakaway screws, and construction adhesive |
| Hand Tools | Hammer, pry bar, measuring tape, utility knife |
| Power Tools | Drill/driver, circular saw (for advanced repairs) |
| Lubricants | Talcum powder, powdered graphite, silicone-based spray |
| Safety Equipment | Safety glasses, dust mask, work gloves |
| Specialty Kits | Squeak-No-More or Counter-Snap kits for repairs under carpet or hardwood |
This table provides a quick reference to what you’ll likely need for both DIY and professional-level repairs.
Step-by-Step Example: Fixing Squeaks from Below
If you have access to the underside of your floor (such as in a basement), you can follow this method:
- Identify the squeaky spot by listening as someone walks above.
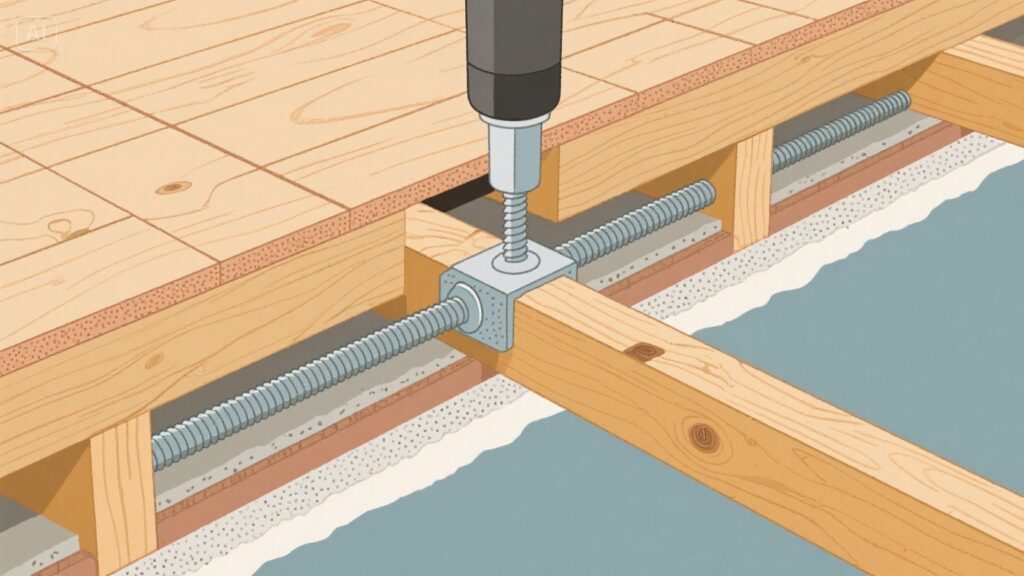
- Apply construction adhesive along the joint between the joist and the subfloor.
- Drive wood screws up through the joist into the subfloor to secure it tightly.
- If gaps remain, gently insert shims coated with Adhesive.
- Test by walking above to confirm the squeak is gone.
This method is among the most reliable because it targets the structural cause of squeaks.
Fixing Squeaks Without Removing Carpet
Squeaky floors under carpet pose a unique challenge. Specialized repair kits, such as Squeak-No-More, utilize breakaway screws that secure the subfloor to the joists without damaging the rug. The screw head snaps off below the carpet line, leaving the surface intact.
Long-Term Prevention Tips
Silencing a squeaky floor is one thing—keeping it quiet is another. Preventive maintenance will protect your investment:
- Install flooring correctly from the start – Use screws rather than nails where possible.
- Maintain proper humidity levels – Avoid extreme fluctuations that cause wood to swell and contract.
- Inspect annually – Check high-traffic areas for early signs of looseness.
- Use quality materials – Stronger adhesives, subflooring, and joists reduce long-term squeaks.
When to Call a Professional
If squeaks are widespread, persist after multiple DIY attempts, or accompany other issues like uneven floors or visible damage, professional help is the best option. A flooring expert can identify structural concerns that may extend beyond noise and impact safety.
Cost Considerations
DIY solutions typically cost only a few dollars for screws or lubricants, while professional repairs may range from $200 to $1,000, depending on the scope. In severe cases that require subfloor replacement, costs can escalate even further.
Is Fixing Squeaky Floors Worth It?
Some homeowners live with squeaks as a minor annoyance, but fixing them offers clear benefits:
- Increased comfort and peace of mind
- Improved property value, especially if selling your home
- Prevention of worsening structural issues
- Greater energy efficiency (tight floors reduce air leaks)
Conclusion
Knowing how to fix squeaky floors is about more than silencing noise—it’s about ensuring the structural integrity, comfort, and longevity of your home. From simple DIY fixes, such as lubrication and screws, to advanced professional solutions, there’s a method suited to every budget and floor type.
By addressing the root causes, investing in the right tools, and following best practices, you can transform creaky, annoying floors into a solid, quiet foundation for daily life. Whether it’s a historic home or a modern build, the proper repair approach ensures your floors remain both beautiful and blissfully silent.
Want to know about How To Install Vinyl Flooring Over Tiles: A Complete Step-by-Step Guide to Transform Your Space Without Removing the Old Floor Check out our Home Improvement category.
FAQs
Costs vary widely based on severity. Minor professional fixes may cost $200–$300, while extensive repairs involving subfloor or joist reinforcement can exceed $1,000.
Yes. If the squeak originates from above, you can often access the subfloor and joists from below to add shims, screws, or Adhesive for stabilization.
If done correctly with the right tools and methods, it can be avoided. Professional-grade repair kits and careful screw placement ensure minimal damage. Incorrect DIY methods, however, can cause cracks or visible marks.
Yes. Wood naturally expands and contracts in response to fluctuations in humidity and temperature, which can cause squeaks. Using humidifiers in winter or dehumidifiers in summer can help reduce seasonal squeaks and other related issues.